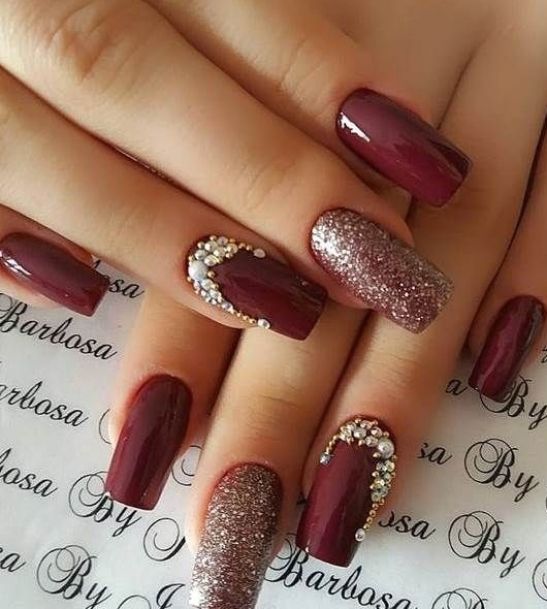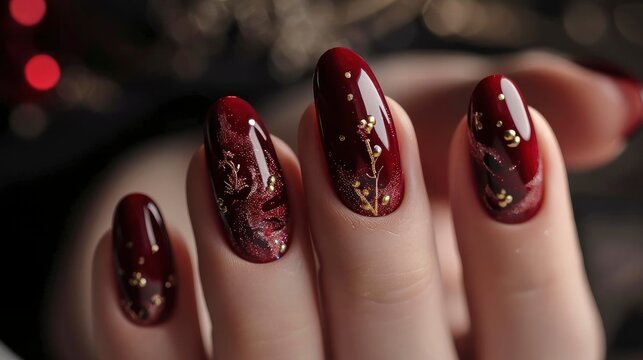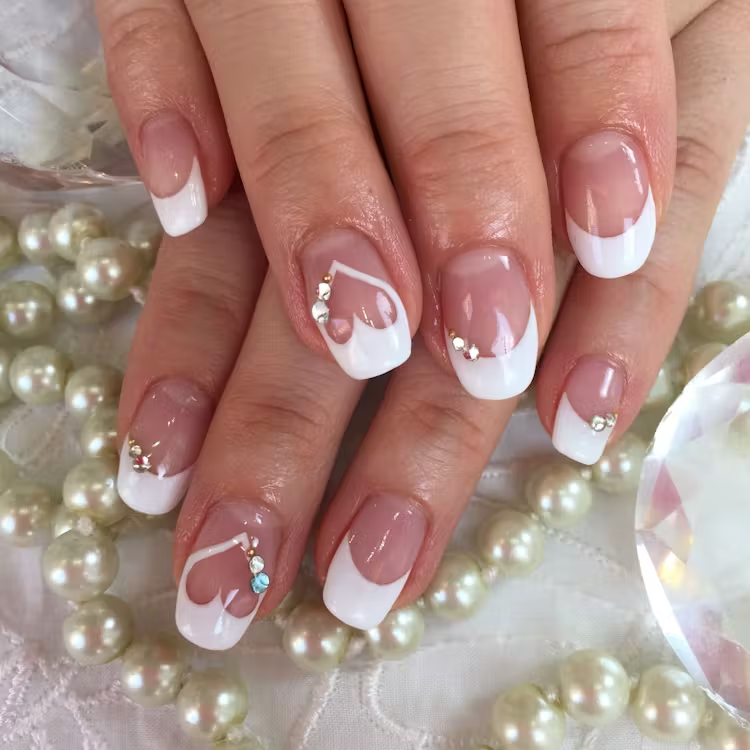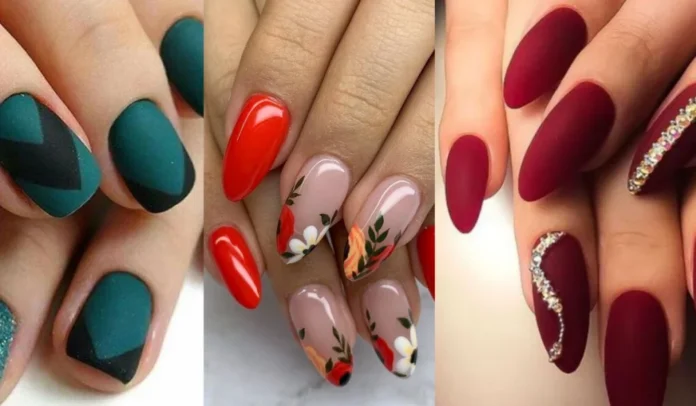
8steps to make Nail Art Making nail art can be a fun and creative way to express yourself! Here’s a basic guide to get you started:
1. Gather Your Supplies
- Nail polish: Base coat, your choice of colors, and a top coat.
- Tools: Nail art brushes, dotting tools, striping tape, sponges, or stamping kits.
- Other: Nail polish remover, cotton pads or Q-tips for cleanup. 8steps to make Nail Art
2. Prep Your Nails
- Clean and Shape: Remove old polish, trim, and file your nails.
- Moisturize: Apply cuticle oil and hand lotion.
- Base Coat: Apply a base coat to protect your nails and improve polish adhesion.
3. Choose a Design
- Simple: Polka dots, stripes, or ombre.
- Intermediate: Floral patterns, geometric shapes, or gradient designs.
- Advanced: Stamping, 3D embellishments, or hand-painted details. 8steps to make Nail Art
4. Apply the Base Color
- Apply your chosen base color and let it dry completely. You may need two coats for full coverage.
5. Create Your Design
- Dotting Tool: Use to create polka dots or simple patterns.
- Striping Tape: For precise lines and geometric designs. 8steps to make Nail Art
- Sponging: Use a makeup sponge to create gradient or ombre effects.
- Nail Art Brushes: For detailed painting or intricate designs.
- Stamping Kits: For more complex designs. Apply polish to the stamp plate, scrape off excess, and press the design onto your nails.
6. Finish with Top Coat
- Apply a clear top coat to seal in your design and add shine. This also helps prevent chipping. 8steps to make Nail Art
7. Clean Up
- Use a small brush or a cotton swab dipped in nail polish remover to clean up any mistakes around your nails. 8steps to make Nail Art
8. Allow to Dry
- Let your nails dry completely before doing anything to avoid smudging.8steps to make Nail Art
Tips:
- Practice on a piece of paper or a nail wheel if you’re trying a new technique.
- Be patient; nail art can be tricky at first, but practice makes perfect!
- Use quick-dry top coats or sprays to speed up drying time.
Have fun experimenting with different designs and techniques to find what you like best!

8steps to make Nail Art नेल आर्ट बनाना खुद को अभिव्यक्त करने का एक मज़ेदार और रचनात्मक तरीका हो सकता है! यहाँ आपको आरंभ करने के लिए एक बुनियादी मार्गदर्शिका दी गई है:
1. अपनी आपूर्तियाँ जुटाएँ
- नेल पॉलिश: बेस कोट, आपके द्वारा चुने गए रंग और एक टॉप कोट।
- उपकरण: नेल आर्ट ब्रश, डॉटिंग टूल, स्ट्रिपिंग टेप, स्पॉन्ज या स्टैम्पिंग किट।
- अन्य: नेल पॉलिश रिमूवर, कॉटन पैड या सफाई के लिए क्यू-टिप्स।
2. अपने नाखूनों को तैयार करें
- साफ़ करें और आकार दें: पुरानी पॉलिश हटाएँ, अपने नाखूनों को ट्रिम करें और फ़ाइल करें।
- मॉइस्चराइज़ करें: क्यूटिकल ऑयल और हैंड लोशन लगाएँ।
- बेस कोट: अपने नाखूनों की सुरक्षा और पॉलिश के आसंजन को बेहतर बनाने के लिए बेस कोट लगाएँ।
3. डिज़ाइन चुनें
- सरल: पोल्का डॉट्स, धारियाँ या ऑम्ब्रे।
- मध्यवर्ती: पुष्प पैटर्न, ज्यामितीय आकृतियाँ या ग्रेडिएंट डिज़ाइन। 8steps to make Nail Art
- उन्नत: स्टैम्पिंग, 3D अलंकरण या हाथ से पेंट किए गए विवरण।
4. बेस कलर लगाएँ
- अपना चुना हुआ बेस कलर लगाएँ और इसे पूरी तरह सूखने दें। पूरी कवरेज के लिए आपको दो कोट की आवश्यकता हो सकती है।
5. अपना डिज़ाइन बनाएँ
- डॉटिंग टूल: पोल्का डॉट्स या सरल पैटर्न बनाने के लिए उपयोग करें।
- स्ट्रिपिंग टेप: सटीक रेखाओं और ज्यामितीय डिज़ाइन के लिए।
- स्पॉन्जिंग: ग्रेडिएंट या ऑम्ब्रे प्रभाव बनाने के लिए मेकअप स्पॉन्ज का उपयोग करें।
- नेल आर्ट ब्रश: विस्तृत पेंटिंग या जटिल डिज़ाइन के लिए।
- स्टैम्पिंग किट: अधिक जटिल डिज़ाइन के लिए। स्टैम्प प्लेट पर पॉलिश लगाएँ, अतिरिक्त पॉलिश हटाएँ और डिज़ाइन को अपने नाखूनों पर दबाएँ।
6. टॉप कोट से खत्म करें
- अपने डिज़ाइन को सील करने और चमक जोड़ने के लिए एक साफ़ टॉप कोट लगाएँ। यह टूटने से भी बचाता है।
7. साफ़ करें
- अपने नाखूनों के आस-पास की किसी भी गलती को साफ़ करने के लिए एक छोटे ब्रश या नेल पॉलिश रिमूवर में डूबा हुआ कॉटन स्वैब इस्तेमाल करें।
8. सूखने दें
- कुछ भी करने से पहले अपने नाखूनों को पूरी तरह सूखने दें ताकि वे दागदार न हों।
सुझाव:
- अगर आप कोई नई तकनीक आज़मा रहे हैं, तो कागज़ के टुकड़े या नेल व्हील पर अभ्यास करें।
- धैर्य रखें; नेल आर्ट शुरू में मुश्किल हो सकता है, लेकिन अभ्यास से आप निपुण हो जाते हैं!
- सूखने के समय को तेज़ करने के लिए जल्दी सूखने वाले टॉप कोट या स्प्रे का इस्तेमाल करें।
अलग-अलग डिज़ाइन और तकनीकों के साथ प्रयोग करके मज़े करें और जानें कि आपको कौन सी तकनीक सबसे अच्छी लगती है!


